Creating handcuffs out of a belt can be a fun and creative project. This method can come in handy for games, role-playing, or even educational purposes. Let’s explore how to make handcuffs out of a belt in a simple and effective way.
Understanding Materials Needed for Handcuffs
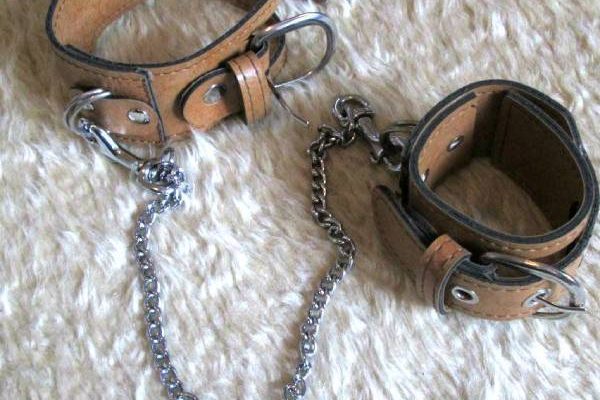
Before you start making handcuffs from a belt, gather everything you need. First, choose a sturdy belt, as this will provide support. Leather belts work well due to their durability, but thick fabric also suffices. Wider belts offer enhanced stability, making them ideal for this project. Additionally, ensure the belt has sufficient holes for adjustments. This allows for a better fit when securing the handcuffs. Next, keep a pair of scissors on hand, since you might need them to cut the belt. Finally, consider using zip ties for added security. They serve as an excellent way to reinforce the handcuff’s grip. By collecting all these materials, you prepare yourself for success.
Step-by-Step Process
After gathering your materials, start crafting the handcuffs. First, cut the belt into two equal lengths. Next, create loops at both ends of each piece, using the holes for adjustments. This forms the basis of the handcuffs. Ensure the loops are large enough to fit comfortably around the wrists. If you want extra security, reinforce the loops with zip ties. This offers an added layer of safety and control.
Once the loops are ready, secure them around the wrists. Adjust the tightness to ensure comfort and security. Test the handcuffs to see how they hold. They should feel snug but not too tight. Finally, admire your handiwork and prepare for your next adventure. Overall, making handcuffs from a belt is an engaging and practical task. You can enjoy a creative way to repurpose old materials while learning a useful skill.
Preparing the Belt for Handcuffs
To start making handcuffs, you need to prepare your belt properly. Lay the belt flat on a hard surface to ensure stability. If the belt has a buckle, keep it attached at one end for easy fastening. Now measure out about 12 to 18 inches from the buckle. Use a ruler or measuring tape for accurate measurement. Cut the belt at this point to create an adjustable length. This ensures enough room for adjustments and comfort when you tie the cuffs later.
Creating the Handcuffs
Next, you will form the handcuffs using the cut belt. Fold the cut length in half to create two loops. The loops should be even and aligned for a good fit. Then, take one side of the cut belt and pass it through the loop. Pull it tight to secure the formation. Repeat the same for the other side to create a second loop. Once you finish both loops, you can test the handcuffs.
Make necessary adjustments to ensure they fit snugly but comfortably. Since safety is essential, check that the cuffs do not pinch or restrict movement. After testing, you will find that homemade handcuffs from your belt can serve practical purposes. They offer a simple yet effective solution for temporary restraint. With careful preparation and a few easy steps, you can create a useful tool from everyday items.
Forming the Cuff Shapes
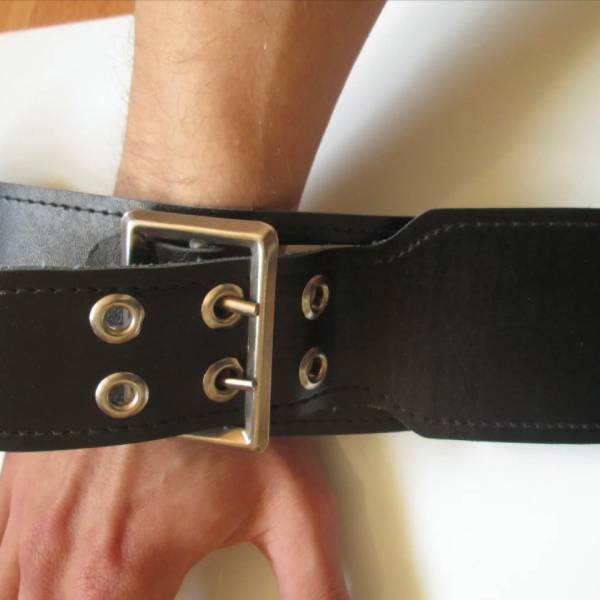
To create functional handcuffs from a belt, start by selecting a sturdy belt. This type of belt ensures durability and comfort while you wear the cuffs. Next, take a cut piece of the belt and wrap it around your wrist. Make sure to leave enough space, as tight cuffs can restrict circulation and cause discomfort. To achieve the perfect fit, mark the point where the belt overlaps. This mark will act as a guideline for cutting the second cuff. After marking, cut the belt slightly longer than the marked spot, ensuring an adequate fit.
Finalizing Your Handcuffs
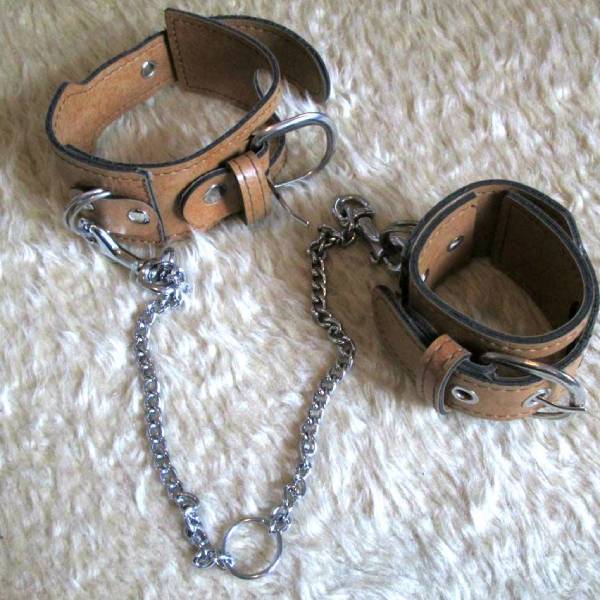
Once you have both cuffs cut, it’s time to assemble them. Use the excess belt from one cuff to connect the two, creating a secure clasp system. This method provides flexibility, allowing for slight adjustments in size. After combining both cuffs, try them on again to ensure they fit well and are comfortable. If they feel too loose, trim the excess belt to enhance the snugness.
Remember, functionality is key, so prioritize comfort while ensuring the handcuffs can hold securely. Once you’re satisfied with the fit and function, you can consider embellishing or coloring the belt. Customization can add a unique touch to your handcuffs. Overall, crafting handcuffs out of a belt provides a practical activity. You can practice DIY skills and create a useful tool with minimal materials and effort.
Attaching the Cuffs Together
To make effective handcuffs from a belt, start by gathering your materials. You need a sturdy belt and two cuff pieces. Position the cuff pieces side by side. Then, use zip ties or another strong material to connect them. Make sure the zip ties are tight but allow some movement. This balance provides extra security and comfort. Additionally, you will want to secure the design to ensure it remains intact during use.
Testing Your Handcuff Design
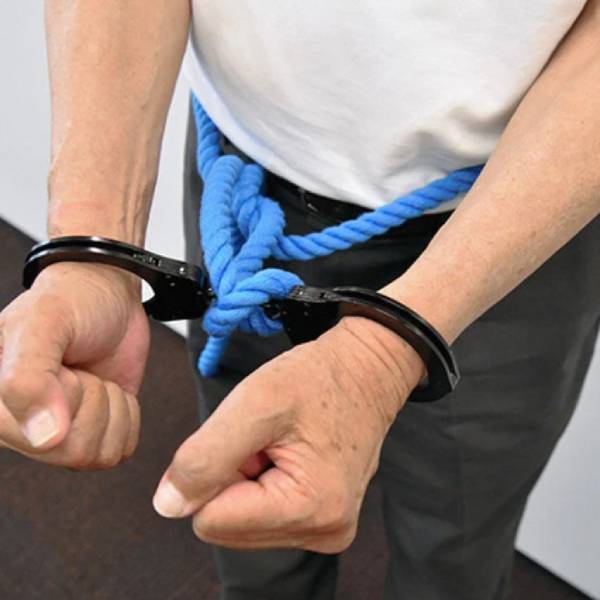
After assembling your handcuffs, it’s crucial to test their functionality. Try gently pulling on the cuffs to assess their strength. Ensure they hold securely while not restricting movement too much. If they feel too snug, adjust the zip ties or material accordingly. This adjustment helps improve comfort without sacrificing security.
Moreover, practice removing the cuffs in case of an emergency. This practice ensures that you can act quickly if needed. Also, consider the environment in which the handcuffs will be used. You might want to adjust the design based on specific situations. Always keep safety in mind when testing your handcuffs. Having a reliable design can make a significant difference in critical moments. Just as practicing with handcuffs is vital for safety, regularly checking your seat belt ensures you’re prepared for emergencies on the road.
Adding Safety Features to Handcuffs
When you’re learning how to make handcuffs out of a belt, safety should always come first. Check the cuffs to ensure they are not too tight. If you feel discomfort or restricted movement, loosen them. You could also consider adding a quick-release mechanism. This feature ensures anyone can remove the cuffs without trouble. For the best men’s belt to use when making handcuffs, choose one that offers both durability and comfort to ensure safety and ease of use.
Testing the Handcuffs for Comfort and Functionality
After assembling the cuffs, test them for comfort and functionality. To do this, carefully place the cuffs on your wrists. Make sure they fit well and do not dig into your skin. Move your wrists around to ensure the cuffs allow for some movement. If they are too tight or uncomfortable, consider re-adjusting them. For the best belt experience, ensure it complements your cuffs by allowing freedom of movement without discomfort.
Creative Uses and Conclusion
Now that you know how to make handcuffs out of a belt, let’s explore creative uses. Use them for games, educational demonstrations, or simply as a fun prop. Remember that these handcuffs are for light-hearted purposes, not for actual restraint. Always prioritize safety and ensure everyone involved understands the boundaries of using them.
In conclusion, making handcuffs out of a belt is easy and enjoyable. With just a few materials and steps, you can create functional cuffs for various purposes. Whether for play, education, or as a novelty item, handcuffs made from a belt can provide joy and a touch of creativity. Happy crafting!